Johnson Tsang
Coil Built Teapot
Visit http://ceramicartsdaily.org for some useful tips in ceramics.
Plaster Moulding A Teacup
Currently one of the works I'm making for the fmp project centres on having a tea set with a Chinese atmosphere to match with the illustrations. The photo below is my plaster cast of a small teacup I made during ceramics. The process to making a plaster cast is having a box shape that can fit in what is wanted. Rolling out a slab of clay that will fit neatly into the bottom of the box where the top of the cup get pressed into and brushing on oil in the inside of the box and the object so it all slides out afterwards. The brush will need to cleaned well after oil or it will be unusable. Generally its good to have another box roughly the same size as the other instead of using perhaps a bucket, as you'll need to be a good judge of measuring the amount needed otherwise. So with the other container judge a halfway point of how much cold water will go in and then scoop up the gypsum plaster and sprinkle it over the water in the container quickly. It needs to be consistent by taking care not favour any areas while shaking it over. When there's half of the powder and water stir them together to have a liquid cake like mixture, a way of telling a half way point has been reached is if there are 'islands' all over the water. Pour all the mixture in and then lift up down that container to get out the air bubbles. Any remaining mixture should be thrown in the bin and the containers should be given a second bath in a bucket at the sink to avoid clogging the pipes.
Cup Experiments
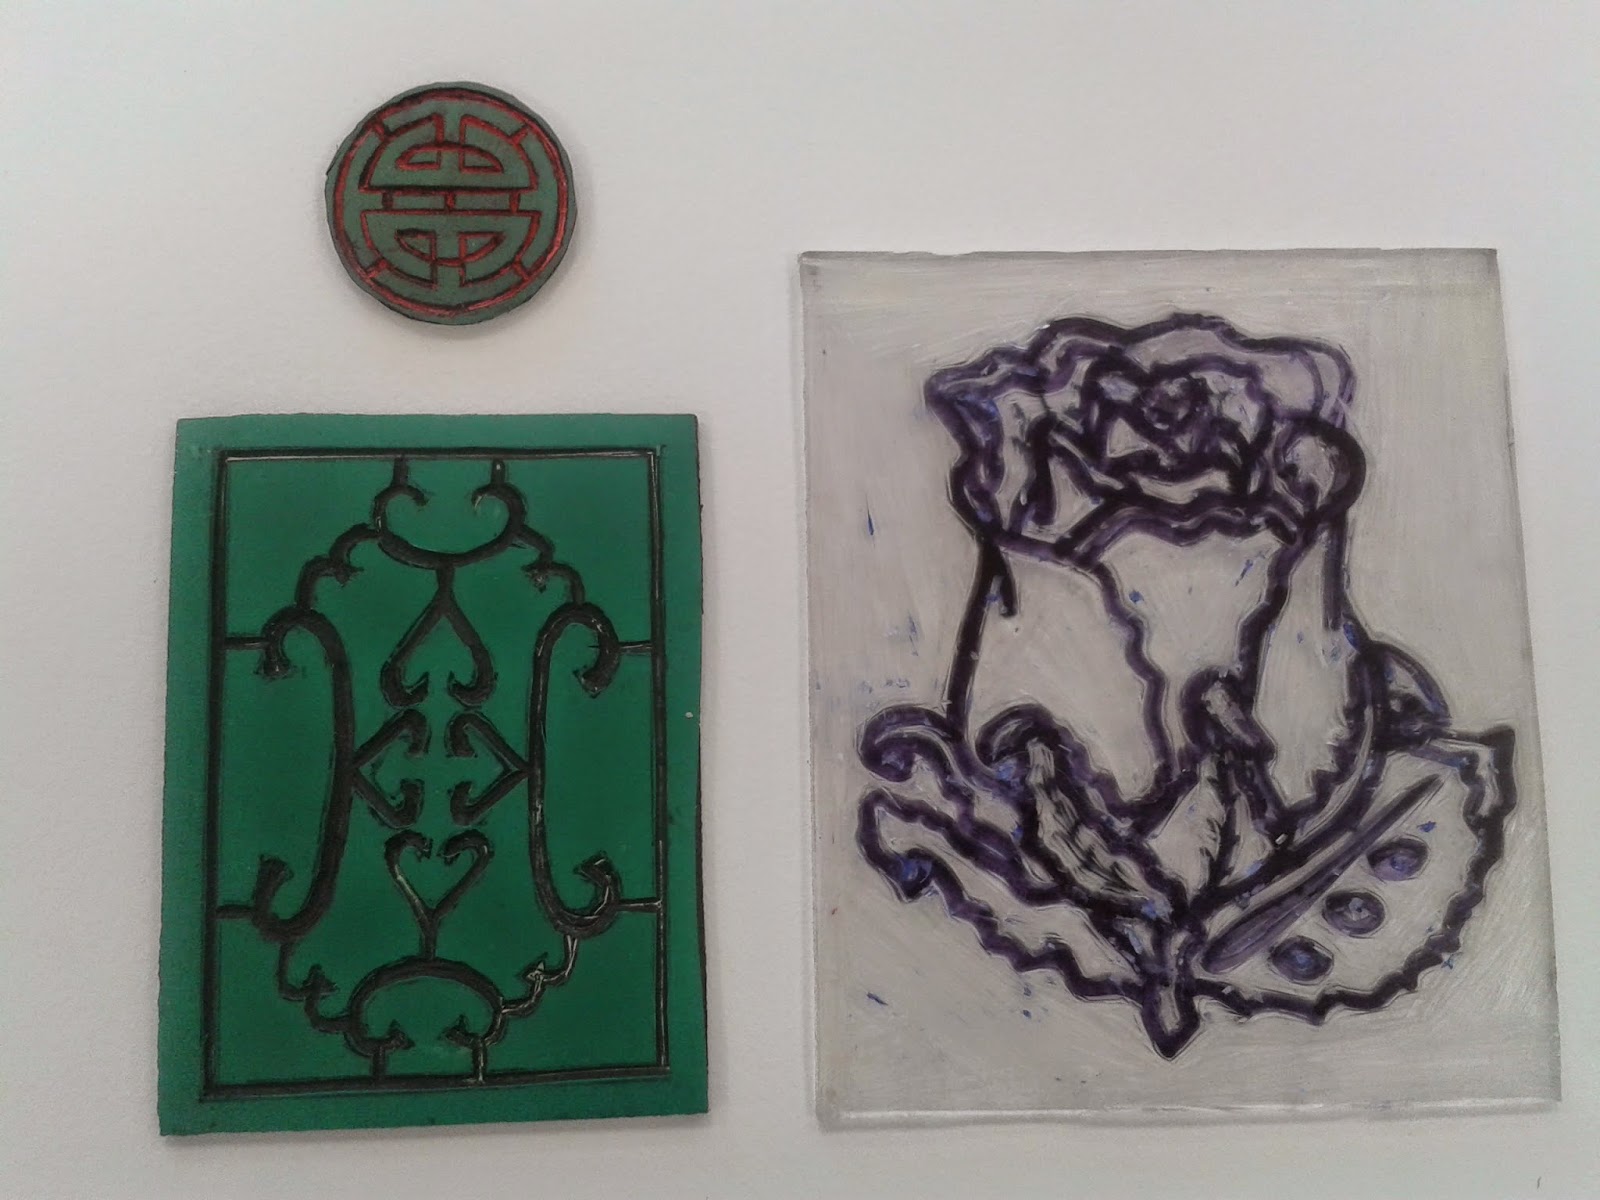
Lino Prints
Photo Negatives
Chinese Dragon
Resin Casting Blue Roses
Batik Technique
The technique of batik goes in the stages of making a design, lightly mapping it out on the fabric with pencil then waxing it. The wax is typically bought as small beads that get melted in the electric pan or pot. It takes time for the wax to melt but once it's at a liquid consistency the work can get started. There's different tools of use for making batik, a selection of them are called Tjantings, these have wooden handles and a small copper pot at the end where it can leak out the nozzle. Some end shapes will give better results than others like the triple end prongs for a more dynamic effect. The last tool for batik is the common paint brush, the finer the tool the better as the wax seeps through the fabric, making a larger wax line than originally planned. After all the light pencil lines have been covered leave to dry and get all the necessary fabric paints to colour. The last stages once dry is ironing out the wax with an iron. Newsprint needs to cover over and under as the wax will reattach itself to another surface instead of fabric and then the piece is completely finished.


Recent Comments